Tuesday, June 19, 2012

Splendid Mac n’ Cheese

What makes Mac n’ Cheese splendid? First the cooking and prep time must stay minimal. Second the cheesy goodness must remind you of childhood while also tasting much more refined than the boxed mac n’ cheese with noodles twirled into spirals or contorted into favorite cartoon characters. I particularly love this recipe of mac n’ cheese because you get just that. Many other recipes I’ve tried call for cheeses that break the bank and incorporate too much flair: caramelized onions and mushrooms. Sometimes I just want the classic, only a little better.

Splendid Mac n’ Cheese
Yields 6-8 servings
Adapted from the nytimes

3 tablespoons butter
12 ounces extra-sharp cheddar cheese, coarsely grated
12 ounces American cheese or cheddar cheese, coarsely grated
1 pound elbow pasta
1/8 teaspoon cayenne (optional)
Salt
2/3 cup whole milk.

1. Bring a large pot of water to boil. Add noodles and cook as directed. Drain and set aside.
2. Heat oven to 375 degrees. Use one tablespoon butter to thickly grease a 9-by-13-inch baking dish.
3. In a large bowl, combine grated cheeses. Set aside two cups for topping at the end.
4. Add noodles to the bowl with cheese. Mix thoroughly. Add cayenne and mix again.
5. Place in prepared pan and evenly pour milk over surface. Evenly sprinkle two cups of cheese on top.  Dot with remaining butter and bake, covered, 45 minutes.
6. Raise heat to 400 degrees and bake 15 to 20 minutes more, until crusty on top.

Enjoy!

Monday, June 11, 2012

Garlic Sesame Broccoli Salad


With summer swiftly approaching, cooking sounds less and less appealing. On a hot day, the thought of laboring over the stove sends me running to the nearest ice cream shop. And since bacon peanut butter ice cream is gaining in popularity in Brooklyn, I count each scoop towards a complete meal. While healthier and equally cool in terms of preparation, salads and raw vegetables often cannot fully satisfy my taste buds. Or so I thought until I encountered this “raw” broccoli salad. The delicious garlic cooked in oil softens the veggies and makes the broccoli a brilliant green as well as so incredibly delicious that calling the salad raw feels like a lie. A nice alternative to coleslaw, this broccoli salad would make a perfect addition to any picnic or barbeque. And considering you are only over the stove for ten minutes, I consider this an ideal summer recipe.

Since the main ingredients of the recipe consist of oil and broccoli, it’s not a surprise that this recipe falls under the diabetic friendly category. But just to point out how few carbs this salad contains, eating the entire salad--all six servings--only amounts to 6% of you daily carb intake! So have a serving and enjoy being in the 1%.


Garlic Sesame Broccoli Salad
Time: 10 minutes, plus 1 hour marinating
Serves 6 as a side
A little less than 3 grams of carbs per serving or 1% of your daily intake
adapted from nytimes

1 1/2 teaspoons red wine vinegar (0 grams of carbs)
1 teaspoon kosher salt, more to taste (0 grams of carbs)
2 heads broccoli, 1 pound each, cut (10 grams of carbs)
3/4 cup extra virgin olive oil (0 grams of carbs)
6 fat garlic cloves, minced (6 grams of carbs)
2 teaspoons roasted sesame oil (0 grams of carbs)
Large pinch crushed red pepper flakes (0 grams of carbs)

1. In a large bowl, stir together the vinegar and salt. Add broccoli and toss to combine. Cover bowl. Set aside.
2. In a large skillet, heat olive oil over medium high heat. Oil should be hot but not smoking. Add garlic and cook until just golden, about 1 minute. Stir in sesame oil and pepper flakes. Pour mixture over broccoli and toss well. Let sit for at least 1 hour at room temperature, and up to 48 hours (place in refrigerator if want to keep for more than 2 hours). Add salt if necessary.

Enjoy!

Tuesday, June 5, 2012

Creative Stuffed Shells or Lasagna Pin Rolls

Cooking requires a considerable amount of creativity. Substituting a pinch of this for a pinch of that. Or realizing your pans are too big or too small for the amount of batter made which forces you to dust off your elementary math skills and do basic division. Recently I put my creative juices to the test when I made my famous stuffed shells without pasta shells.

I had a keen hankering for stuffed shells but to my despair I was lacking the most important ingredient for the dish, the vessel for the ricotta filling. Laziness kept me from going to the grocery store and instead I scoured my pantry for a substitute. Desperation turned me towards a spar box of lasagna. Surprisingly lasagna “pin rolls” turned out to be easier to make than stuffed shells. And, most importantly, just as delicious.

Using lasagna cooked al dente, I spread a thin layer of the ricotta mixture and the spinach onto the noodle then rolled. My biggest concern was that the pin rolls would come apart when I served them up for dinner. But somewhere in the cooking process each pin-roll  beautifully firmed up and stayed together on everybody’s plate.


Creative Stuffed Shells or Lasagna Pin rolls
Loosely adapted from 101 Cookbooks

Serves 6

Sauce
½ cup olive oil
1 ½ teaspoons crushed red pepper flakes
2 teaspoons salt
6 cloves crushed garlic
2 28oz cans crushed red tomatoes
1 teaspoon oregano
1 teaspoon Italian seasoning

Filling
32 oz. ricotta cheese
2 eggs
1 teaspoon salt
16 oz. mozzarella grated
1 ½ teaspoon Italian seasoning
½ teaspoon oregano
3 tablespoons olive oil
1 package frozen spinach
½ large onion
1 teaspoon salt
¼ cup parmesan cheese

1. Place olive oil over medium high heat in a large pot or large deep skillet. Add crushed garlic, pepper flakes, and salt. Cooking, stirring frequently, for about 3 minutes until garlic is just golden. Add crushed red tomatoes, oregano, and Italian seasoning. Stir until blended. Once the sauce is bubbling, reduce heat to low and cover.

2. In a large bowl, mix together ricotta, eggs, salt, about 2/3 of the grated mozzarella, Italian seasoning, and oregano. In a medium skillet, heat olive oil over medium high heat. Add onion and salt and cook for 3-4 minutes stirring frequently. Reduce heat to low and cook for 5-10 more minutes, still stirring frequently, until onions are golden brown. Add spinach and cook till just warmed (about five minutes).

3. Preheat oven to 350. Pour a 1/3 of the sauce into the bottom of a large deep-dish pan. I used an 11 inch by 14 inch pan, but whatever you use for a hefty lasagna should work. Make sure the entire bottom of the pan is well covered. Use more sauce if necessary.

4. Cook lasagna as directed. Lay noodles flat. Spread about a tablespoon and a half of ricotta mixture evenly onto the noodle. Repeat with a layer of a little less than a tablespoon of spinach. Roll noodle up (mixture/spinach side on the inside.) Place each rolled up noodle in the lasagna pan. Keep each pin roll close to each other. They should be packed in tight.

5. Once the pan is full, pour another third of the sauce over the pin rolls. Every pin roll should be at least lightly covered. Use more sauce if necessary. Evenly spread the remaining 1/3 mozzarella and sprinkle parmesan cheese over the top.

6. Cover the pan with tin foil. Cook for thirty minutes at 350. Uncover and cook for another 15 minutes. Dollop a spoonful of sauce from remaining 1/3 of sauce over each pin roll when serving.

Enjoy!

Thursday, May 24, 2012

Chicken Tikka Masala

I want to write an ode to curry. I cannot seem to get enough of that blend of vibrant spices with yogurt, coconut milk, or heavy cream.  As a young and foolish child, I never used to order curry when my mom took me to Indian restaurants. The texture looked too weird. I didn’t understand if it was a stew or a sauce.  Instead, I stuck dutifully to my tandoori chicken. While also a delicious meal, I only ordered tandoori chicken because I felt the dish closer resembled more familiar western methods of preparing chicken. I cannot remember that glorious day when I broke down my barriers, entered maturity, and found curry religion. But I bet it was a good meal.

This recipe for chicken tikka masala fits into my quest for diabetic friendly dishes. With only about 40 grams of carbs, or 12% of your daily carb intake, per serving, you don’t have to feel guilty about thirds. Another bonus, these portions are giant in the first place so you might not need thirds or seconds. Also, I’m a high curry to rice ratio kind of girl anyway but in the spirit of being carb conscious I only used half a cup of cooked rice per serving. If you are not as concerned about your carb intake, I would increase to a cup of cooked rice per diner. Though I used low-fat plain yogurt, I did not substitute for the butter and the heavy cream. My boyfriend recently turned fiancĂ© (we’ve only just started working on our choreographed aisle march for YouTube) has type 1 diabetes but is hipster skinny and doesn’t need to worry about his weight. If you want to keep the calories and fat content low, substitute the heavy cream with low-fat cream or half and half.

I was really delighted with this recipe. Sometimes you eat a meal and feel a twang of disappointment knowing a restaurant order would have tasted better. After eating this curry, I thought to myself, I should open a restaurant.


Chicken Tikka Masala
Serves 4 (very large portions!)
Adapted from use real butter
About 40 grams of carbs per serving. Only about 12% of your daily carb intake!

2 cups cooked rice (88 grams of carbs)

For the chicken
2 lbs. chicken breast, boneless and skinless (0 grams of carbs)
½ cup olive oil (0 grams)
½ bulb of garlic, minced (7 grams)
2 lime, juiced (14 grams)
½ tsp ground nutmeg (.5 grams)
½ tsp ground curry powder (.5 grams)
1 ½ tsps paprika (1 gram)
½ tsp ground red pepper (cayenne) (.5 grams)
1 ½ tsps salt (0 grams)
1 tsp ground black pepper (0 grams)
4 tbsps plain yogurt (8 grams)

For the masala
1/3 cup olive oil (0 grams)
2 onions, diced (2 grams)
4 cloves garlic, minced (4 grams)
4 tsps peeled and finely grated fresh ginger (0 grams)
2 large ripe tomatoes, chopped (14 grams)
 tsps curry powder (1 gram)
1/2 tsp nutmeg (.5 grams)
2 tsps paprika (.5 grams)
1 tsp ground red pepper (cayenne) (.5 grams)
1 ½  tsp salt (0 grams)
1 tsp ground black pepper (0 grams)
2 tsps sugar (8 grams)
4 tbsps butter (0 grams)
1 lime, juiced
1/2 cup heavy cream (8 grams)

1. Make the marinade for the chicken: Cut the chicken into 3/4-inch cubes. Place chopped chicken and olive oil in a large ziploc bag or a large bowl with a lid. In a medium bowl, mix together minced garlic, lime juice, nutmeg, curry powder, paprika, cayenne, salt, black pepper and yogurt. Cover chicken with mixture and shake bag or stir until well coated if in bowl. Seal or cover and place in fridge for a minimum of 1 hour and up to 24 hours.

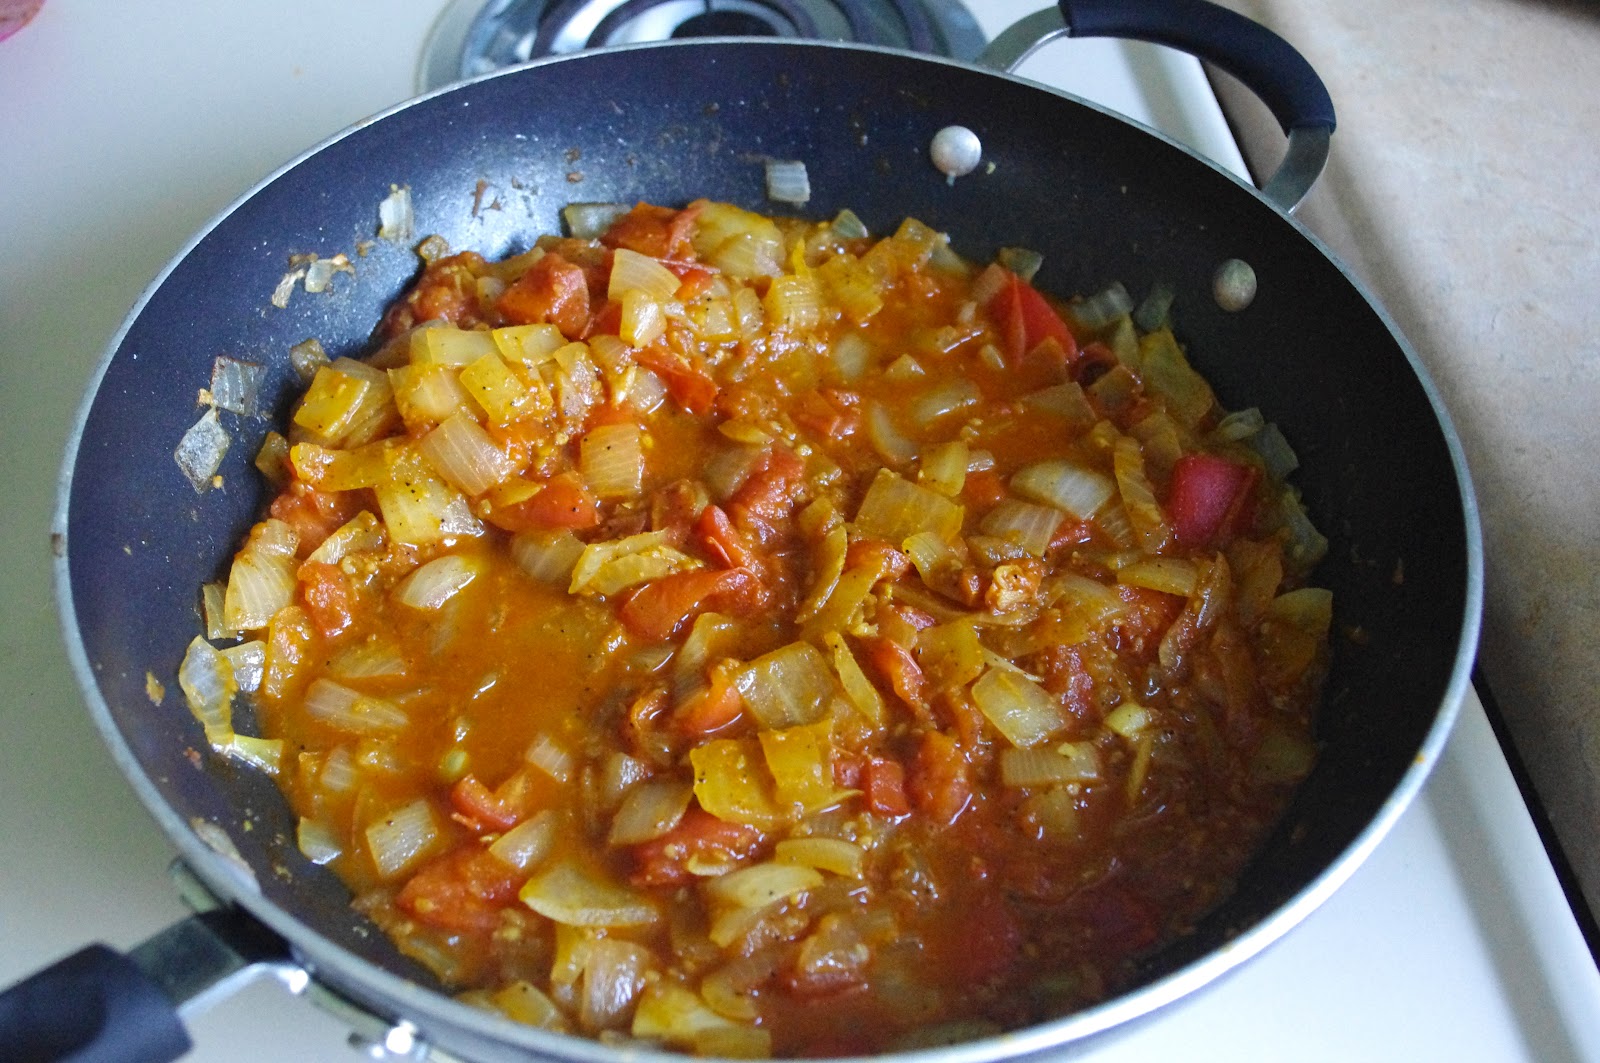
2. Make the masala: In a large saucepan, heat the olive oil over medium heat. Add the onions, garlic, and ginger. SautĂ© until the onions become golden brown, stirring frequently, about ten minutes. Reduce the heat to medium-low and add the chopped tomato. Cover and simmer for another 10 minutes until the tomato softens, stirring occasionally. Stir in the nutmeg, curry powder, paprika, cayenne, salt, black pepper and sugar. Let simmer uncovered for about 5 minutes. Using a hand mixer or blender, blend ingredients together until completely combined and the consistency is that or a very thick sauce. Careful when blending, mixture will be hot. Lower heat to very low, cover, and let simmer while cooking the chicken.

3. When done marinating, remove the chicken from the refrigerator. Set oven to broil. For my oven, the first rack setting is a good six inches away from the top of the oven and broil flames, which is perfect for cooking this chicken. If your rack is closer than 6 inches, place rack one rung lower. Coat cooking sheet with a thin layer of oil. Spread chicken evenly on pan. Drizzle chicken with any extra marinade. Cook on broil for 5-7 minutes. Remove pan and carefully turn each piece of chicken with thongs or a fork. Place back in oven and cook 5-7 minutes more. Make sure center of chicken is no longer pink. Remove chicken from oven, let cool.

4. Turn heat up to medium-high for the masala. Stir in butter, lime juice and heavy cream. Let bubble for a minute or two, stir, and reduce heat to low. Add chicken and let simmer for another 5 to ten minutes. Serve hot.

Enjoy!

Tuesday, May 8, 2012

A Series of Low Carb Recipes


I haven’t had as much time to cook as I would like these past months. I am looking forward to long summer days and nights. Grilling might be my favorite part of the season. More so than the day when I usually just feel too hot to move, I love to grill in the warm evenings, which feel cool compared to the beating rays of the sun. My goal this summer is to take advantage of the delicious tastes of grilled veggies and fruits in order to cook up some great low carb meals.

But I’m getting a little ahead of myself. Before moving forward, I looked back at the recipes I’ve made that were relatively low in carbs. A few surprised me (like the chicken pot pie with biscuit crust) and almost made me wish for a few more cold days to spend in front of the oven. Almost…

These meals have about 30 grams of carbohydrates per serving our only about 10% of your daily serving of carbs!


Less than 15 grams of carbs, 5% daily serving